Ella's Corner

stay a while

Page 2 of 3

Accessibility and Inclusive Technology

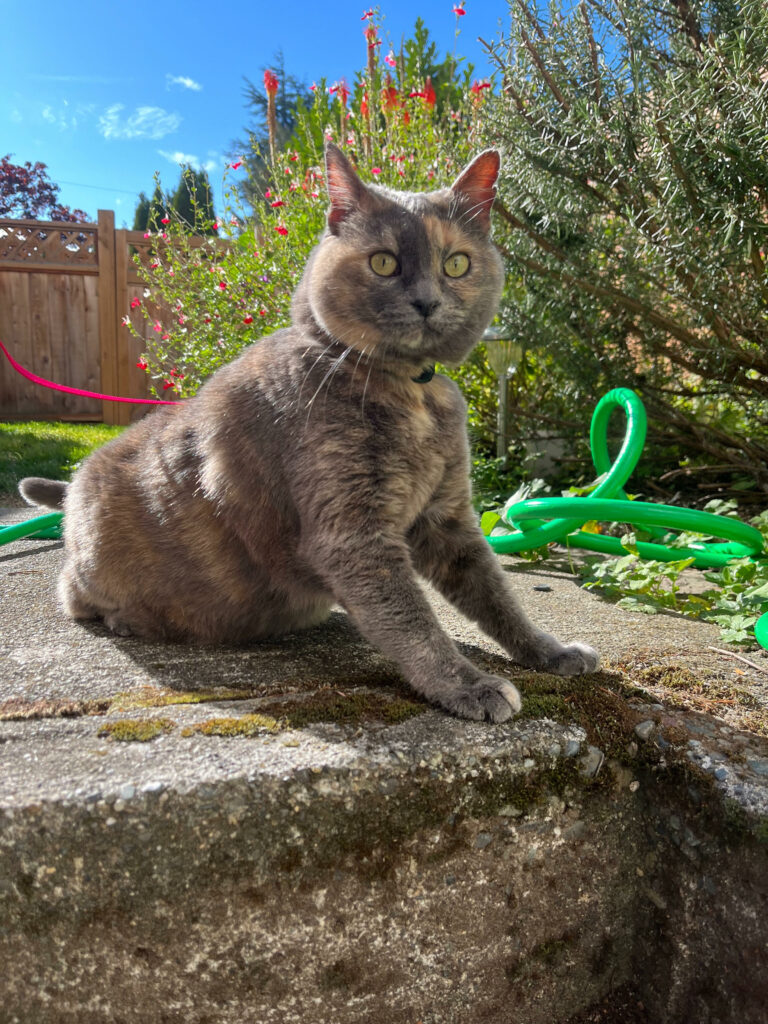
Photo of light grey and orange cat, wearing a pink leash. While sitting in front of some bushes.

Image with Alt text!

Updated Video with accessible interactions

REFLECTION

I think a major reason accessibility practices aren’t more common is purely due to the fact that people tend to take their able bodies for granted. Another reason I think and it’s a sad reason, but it just takes more effort to make thing accessible. This isn’t always the case as things like colour design can be thought of before. Things like captioning videos and adding alt text take time and unfortunately some people don’t want to give that time to make things accessible by all, which is truly unfair. There needs to be more accessibility within accessible technology.

I know one thing I don’t often think about is colour blindness, or other kinds of eye conditions other than total blindness. While doing the activities for this week, I found that my website colours may not be super visible to all. I’m currently trying to brainstorm a better colour scheme for my website in order to make it accessible. Looking at my favourite website, using WAVE. It did amazing, with only minor issues like broken links, but contrast was perfect! Check out Indigo for quite the accessible website.
Paint on the Canvas

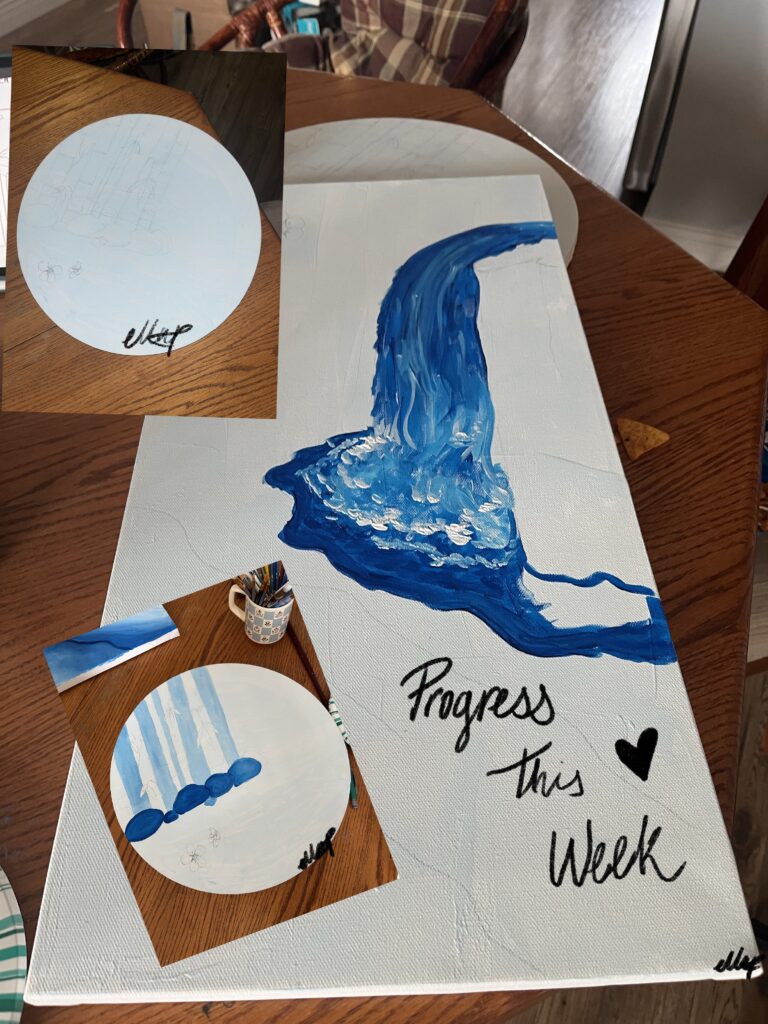
This week I was able to actually begin painting! I started with a layer of gesso, which I actually used AI to find out why you use gesso. To sum it up, it just seals the canvas and makes it smoother to paint on.

My original sketching process is done with no references, as it normally just involves basic shapes and designs. When I start painting on the canvases, I just use Google Images for references. I don’t use just one image though, I look at a collection of images to create a strong vision of the subject. Then I usually just go for it. My art style isn’t super realistic, so I don’t find a need to constantly be using references. That being said I do rely on online images for a lot of my art.

I currently have put about 5 hours on just painting, putting aside planning, sketching, etc. I plan to try and film a time lapse for one of the upcoming weeks, so stay tuned!

Step One!

This week for my free inquiry I started the planning period of my painting. For my planning I use a digital art program called Procreate. I prefer doing my initial sketching digitally as I can easily move around and resize my sketch without having to re-draw anything. It also is less wasteful than doing my sketches on paper. I was also able to use the screen recording software built into my IPad to capture my sketching process. Then I used IMovie to speed up the footage, condensing it from 10 minutes down to a little less than 2 minutes.

My Sketch done using Procreate

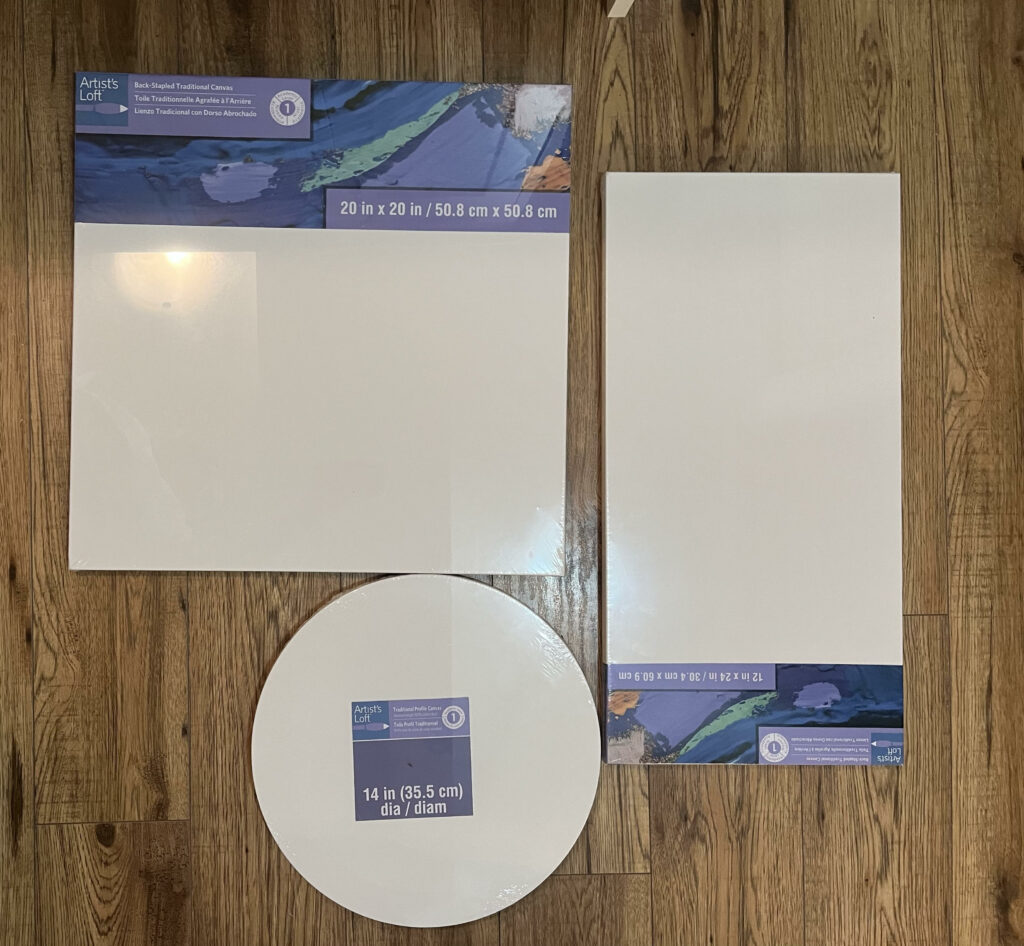
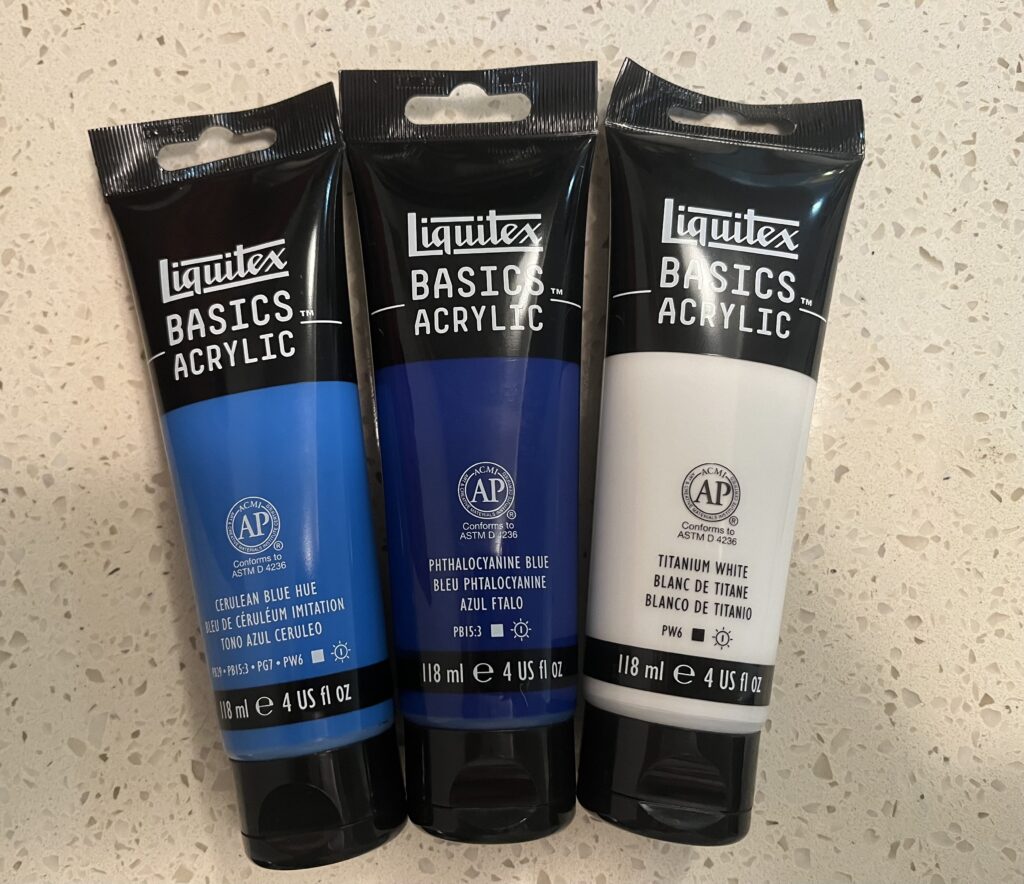
This week I also got to take trip to one of my favourite stores, Micheals! When I was there I was looking for canvases, as well as some paint. While looking for canvases I had a stroke of inspiration, a round canvas caught my eye. So I made a quick decision and swapped the bottom square canvas for a round one! My painting is also going to be monochromatic, so I picked up some blue paint. Below you’ll see the items I picked up from Micheals!

3D Modelling and Printing

3D modelling and printing allows for creative cross-circular activities. An example I can think of is to get your students to design simple math games involving manipulatives. Then allow your students to design and print their needed pieces. This not only shows students a practical use for 3D printing, but also provides a math activity. Another idea is to get students to draw physical name tags, then get your students to recreate their designs in a 3D modelling program. This activity would be a great introduction for how to move letters, change object colours, and really just the basics for 3D modelling. I think TinderCad is great for beginners, I found it very user friendly and I think it’d be alright for teaching grade 5-12 aged students.

3D printing allows for students to be creative and see their visions come to life. 3D modelling also allows students to learn a new skill or possible find a new hobby. Not only does 3D printing allow creativity, but it also can be used for practicality. Whether it’s making a mug or hooks, so many thing can be created with 3D modelling. A downside is that it’s quite expensive, not only the printers themselves but the filament used to actually print your designs. If you had a large class the cost may make 3D printing unaccessible. That being said if you have access to 3D printing its an amazing resource for education!

My Heart Box!

So it begins…

I have decided to hunker down and take on painting a large piece. I’ve thought about it and I think using multiple canvases will be more practical for me. I plan to start sketching this week and intend to screen record my progress to post! Throughout the project I hope to employ many media tactics, whether that be a time lapse of painting, photos, or maybe even just a post about technical difficulties I come across along the way. I hope to put in a few hours each week, maybe even a visual tracker somewhere indicating how long I’ve been working on the piece.

If you haven’t already checked out last weeks blog post ! https://ellascorner.opened.ca/2024/09/20/a-monstrous-painting/

Video made by Ella Pennell using “Stop motion factory”

Reflections 3!

Generative AI is a double edged sword. Most people use Gen AI on a daily basis, whether it’s google helping you complete a search, or your smartphone finishing a word before you even start typing it. Generative AI can be greatly beneficial in an educational environment, but also quite destructive. I know for myself there have been times where I spend hours writing a paper, only to get to the editing stage, where I then have to read back everything I just wrote. I end up only skimming my work, instead of thoroughly reading it through. That being said a program like Grammarly tends to help me slow down and actually read my work. This is because I know to have some distrust with AI and its chance of hallucinations. So, instead of rushing through my work and handing in something that isn’t polished, AI helps me to slow down and really benefits my education. On the flip side there is the temptation to let something like ChatGPT write an entire essay for you. I know there have been times where I have been so overwhelmed with school work and life, it just seems easier to let AI do a project for me to save all the hours of work. This is where I believe AI becomes an issue, when it is no longer used as a tool, but is used as a replacement for your brain. AI can be great for education, but only if its not replacing the work and learning, but rather enhancing it.

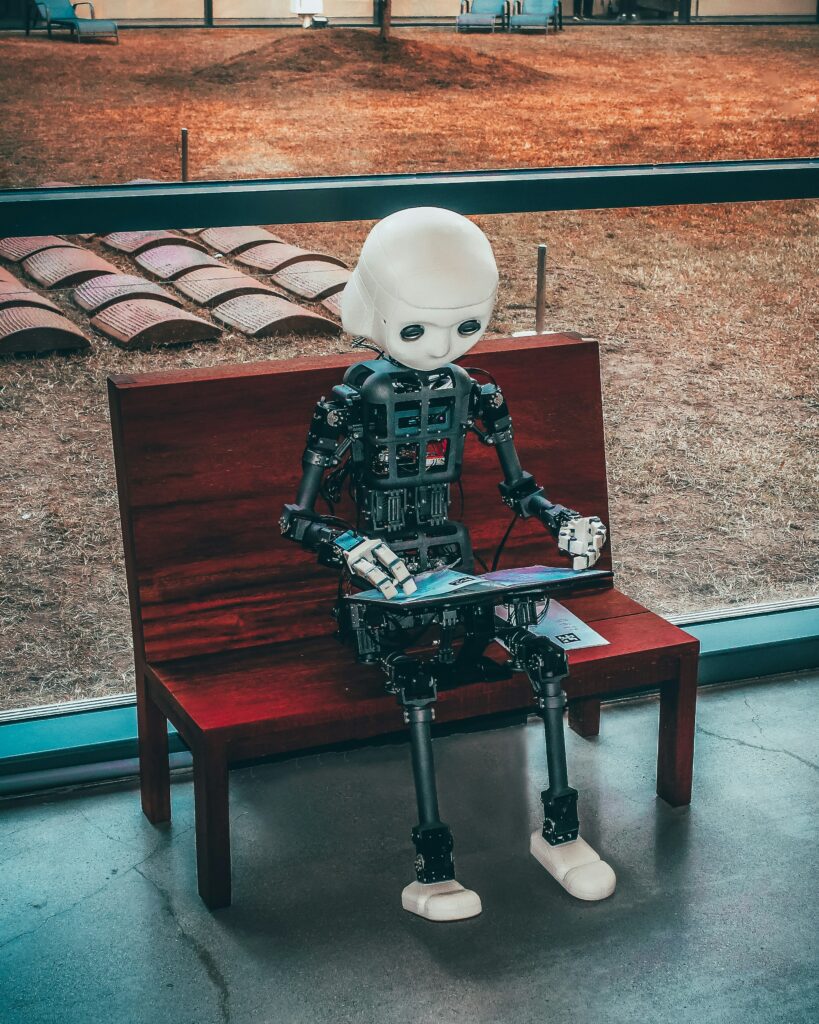
UNSPLASHED photo by Andrea De Santis

Generative AI has quite the major limitation. As AI cannot create new things, rather it pulls from a database of pre-existing information. This means there is a lot of room for error and plagiarism, and without proper education on the subjects you are using AI for you may be using false information without realizing. This is why AI needs to used as a tool rather than a replacement. AI also uses a lot of power, which in a world where the environment isn’t doing too hot, isn’t super beneficial. This especially has an impact on places that don’t use clean energy, which only worsens our climate crisis.

AI LINKS: https://www.grammarly.com https://openai.com/chatgpt/

A MONSTROUS PAINTING

So far my inquiry process has been somewhat chaotic. I tend to overthink what I want my topic to be. This time I thought I’d keep it simple, sort of. I’ve spent quite a few years of my life painting causally, taking art classes in high school but never outside of that. All of my art pieces have been relatively small, nothing bigger then 18″x34″. So, for my free-inquiry project I want to paint a larger piece. There are a few issue that come up when painting a large piece, the biggest one being cost. Large canvases are quite expensive, but I had a thought to put together a few smaller canvases in order to create one larger image. https://www.silviahomecraft.com/blogs/beautiful-hand-painted-wall-art/simple-painting-ideas-for-living-room-large-paintings-for-sale-multiple-canvas-paintings-hand-painted-canvas-art-buy-paintings-online I quite like the way the second image flows

I am still very indecisive though, and change my mind everyday so I will continue to think about it. I am passionate about painting and the idea of this project excites me. I would love to time lapse the painting process, as well as share my brainstorming and sketching stages. I want to know what different challenges come with painting a large piece, if any. I want to know if I’ll enjoy doing it or if it’ll become a chore.

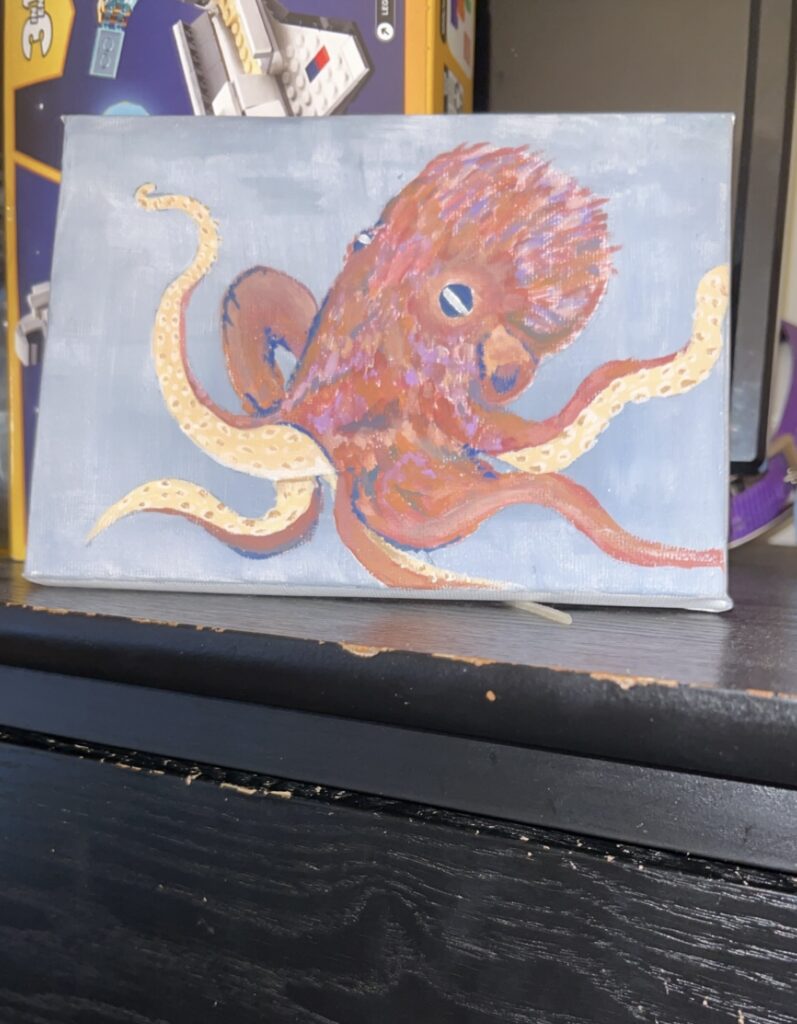
One of my small paintings!

Reflection 2!

As useful as H5P is for older students, I think it is much to confusing for primary aged children. As an adult I struggled figuring out how to use it, so I cannot imagine someone with no technology skills, trying to use it. I believe a software like IMovie is much easier to teach younger kids. When it comes to introducing topics like screen capturing and video editing, I find it’s important to not overwhelm students. With confusion from complex programs comes bad experiences, which only pushes the student further away from wanting to do those activities in the future.

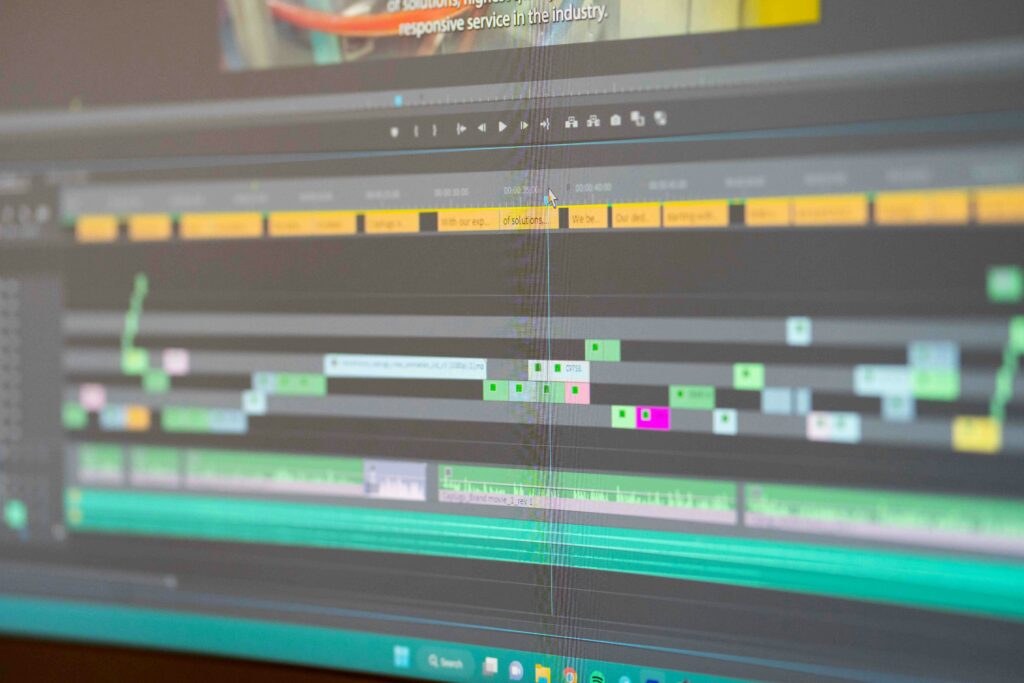
Photo by Bas Peperzak on Unsplashed

I hope to teach primary aged students, K-3. With those slightly older kids starting off teaching things like stop motion. First giving the students the assignment of writing a short story, giving them a base to start their videos with. Then give options of items like Lego figures, glass beads, or Play-Dough. Get your students to re-create their stories using stop motion. Let your students take all the pictures, maybe giving a lesson on basic camera angels first. Then do a guided lesson using screen capturing, showing them a step by step on how to import, and move images around in an editing software like IMovie. Letting the students bring their stories to life, brings a level of engagement, a more structured assignment might not have.

LINKS: https://www.webkinz.com Music: Monkeys Spinning Monkeys · Kevin MacLeod · Kevin https://www.youtube.com/watch?v=NPdgPZ0u3zQ

Week One Reflection!

Welcome and Introduction

Before proceeding with this first blog post, we expect you to consider your privacy preferences carefully and that you have considered the following options:

  1. Do you want to be online vs. offline?
  2. Do you want to use your name (or part thereof) vs. a pseudonym (e.g., West Coast Teacher)?
  3. Do you want to have your blog public vs. private? (Note, you can set individual blog posts private or password protected or have an entire blog set to private)
  4. Have you considered whether you are posting within or outside of Canada? This blog on opened.ca is hosted within Canada. That said, any public blog posts can have its content aggregated/curated onto social networks outside of Canada.

First tasks you might explore with your new blog:

  • Go into its admin panel found by adding /wp-admin at the end of your blog’s URL
  • Add new category or tags to organize your blog posts – found under “Posts” (but do not remove the pre-existing “EdTech” category or sub-categories, Free Inquiry and EdTech Inquiry). We have also pre-loaded the Teacher Education competencies as categories should you wish to use them to document your learning. If you would like to add more course categories, please do so (e.g., add EDCI 306A with no space for Music Ed, etc.)
  • See if your blog posts are appearing on the course website (you must have the course categories assigned to a post first and have provided your instructor with your blog URL)
  • Add pages
  • Embed images or set featured images and embed video in blog posts and pages (can be your own media or that found on the internet, but consider free or creative commons licensed works)
  • Under Appearance,
    • Select your preferred website theme and customize to your preferences (New title, etc.)
    • Customize menus & navigation
    • Use widgets to customize blog content and features
  • Delete this starter post (or switch it to draft status if you want to keep for reference)

Do consider creating categories for each course that you take should you wish to document your learning (or from professional learning activities outside of formal courses). Keep note, however, that you may wish to use the course topic as the category as opposed to the course number as those outside of your program would not be familiar with the number (e.g., we use “EdTech” instead of “edci336).

Lastly, as always, be aware of the FIPPA as it relates to privacy and share only those names/images that you have consent to use or are otherwise public figures. When in doubt, ask us.

Please also review the resources from our course website for getting started with blogging:

« Older posts Newer posts »

© 2025 Ella’s Corner

Theme by Anders NorenUp ↑